
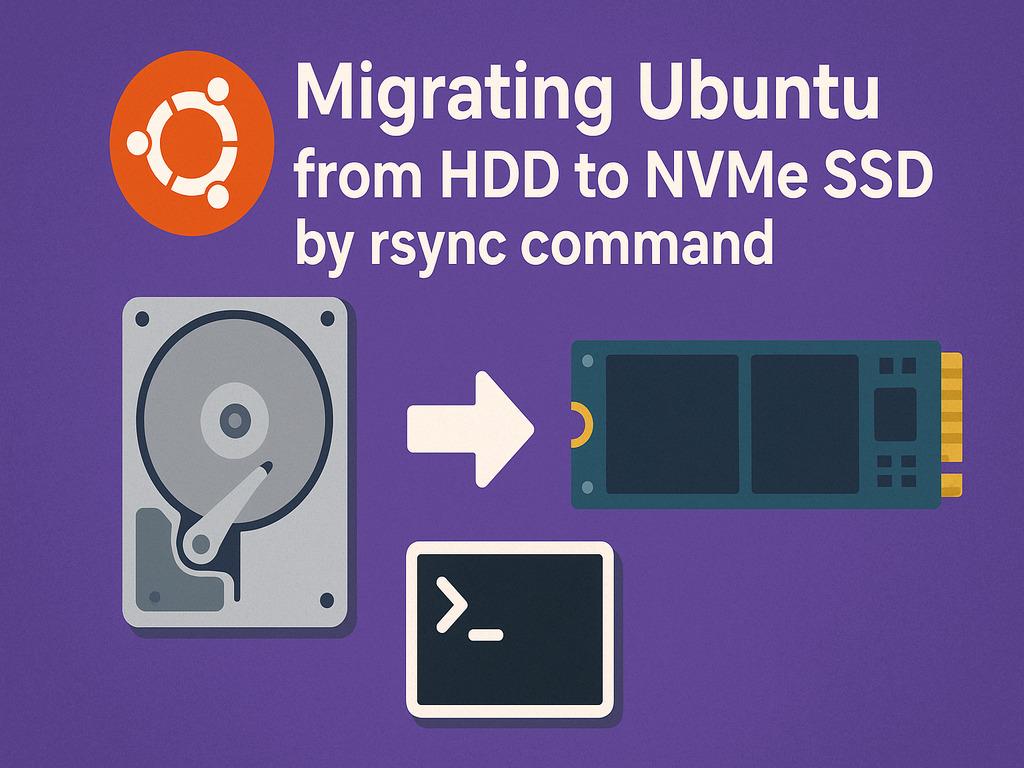
Migrate Ubuntu Operating system from HDD to NVMe SSD by cleanest way - rsync
Upgrading from a traditional HDD to an NVMe SSD can give your Ubuntu system a serious speed boost — faster boot times, quicker app launches, and an overall snappier experience. But how do you migrate your existing Ubuntu installation without reinstalling everything?
I recently went through this process, and here's a complete guide that worked smoothly — no dd cloning nightmares, just a clean and reliable rsync-based migration.
🧰 What You’ll Need
-
A bootable Ubuntu Live USB
-
Your existing HDD with Ubuntu installed (e.g.,
/dev/sdb) -
An empty or newly-partitioned NVMe SSD (e.g.,
/dev/nvme0n1) -
Some patience (~30–60 minutes depending on data size)
🗂️ Step 1: Partition the NVMe Drive
Use GParted or gdisk to create:
-
EFI System Partition (ESP)
-
Size: 512 MB
-
Format: FAT32
-
Type:
EFI System
-
-
Root Partition
-
Use the rest of the space
-
Format: ext4
-
Type:
Linux filesystem
-
Example layout:
-
/dev/nvme0n1p1→ EFI -
/dev/nvme0n1p2→/(root)
sudo parted /dev/nvme0n1 -- mklabel gpt
sudo parted /dev/nvme0n1 -- mkpart ESP fat32 1MiB 513MiB
sudo parted /dev/nvme0n1 -- set 1 esp on
sudo parted /dev/nvme0n1 -- mkpart primary ext4 513MiB 100%
sudo mkfs.fat -F32 /dev/nvme0n1p1
sudo mkfs.ext4 /dev/nvme0n1p2
📦 Step 2: Mount Partitions
From the live USB:
sudo mkdir -p /mnt/src /mnt/dst /mnt/dst/boot/efi

# Mount source (old system)
sudo mount /dev/sdb2 /mnt/src

# Mount destination (new NVMe)
sudo mount /dev/nvme0n1p2 /mnt/dst
sudo mkdir -p /mnt/dst/boot/efi
sudo mount /dev/nvme0n1p1 /mnt/dst/boot/efi
📥 Step 3: Copy the System Using rsync
Run this to copy everything from HDD to NVMe:
sudo rsync -aAXHv --progress \
--exclude={"/dev/*","/proc/*","/sys/*","/tmp/*","/run/*","/mnt/*","/media/*","/lost+found"} \
/mnt/src/ /mnt/dst/
-
-aAXH: preserves permissions, symlinks, hardlinks, extended attributes -
--info=progress2: gives detailed copy progress
This step can take a while depending on how much data you have.
🏗️ Step 4: Chroot Into the New System
for dir in dev proc sys; do sudo mount --bind /$dir /mnt/dst/$dir; done
sudo chroot /mnt/dst
⚙️ Step 5: Install GRUB Bootloader
grub-install --target=x86_64-efi --efi-directory=/boot/efi --bootloader-id=ubuntu --recheck
update-grub
⚠️ If you see a warning like:
EFI variables cannot be set on this systemThat’s okay — it just means you booted in BIOS mode and will need to manually boot into the EFI file later.
🧾 Step 6: Update /etc/fstab with New UUIDs
First, get UUIDs:
blkid
Update /etc/fstab:
UUID=1fb01093-412a-4fce-9b7c-8ba92abe8329 /         ext4  errors=remount-ro 0 1
UUID=E651-3815                            /boot/efi vfat  umask=0077        0 1
/swapfile                                 none      swap  sw                0 0
Replace with your actual UUIDs from the
blkidoutput.
🚪 Step 7: Clean Up and Reboot
exit
for dir in dev proc sys; do sudo umount /mnt/dst/$dir; done
sudo umount /mnt/dst/boot/efi
sudo umount /mnt/dst
sudo reboot
Then enter your BIOS/UEFI settings and select the NVMe EFI boot entry (usually under Boot → EFI → grubx64.efi).


0% Positive Review (0 Comments)